Have you tried microgreens yet? These baby plants are tender, flavorful, and packed with nutrition. Despite their small size, they actually contain more nutrients and antioxidants by weight than their fully-grown counterparts.
Many restaurants are now featuring microgreens as garnishes, toppings, or star ingredients in their dishes — which has created a growing interest in microgreens recipes.
The best part? Even if you’re taken aback by the price of microgreens at the grocery store, they’re extremely easy to grow at home — and you don’t need any special equipment to do it.
Here’s our comprehensive guide to microgreens, their benefits, how to grow them, and how to use them.
Table of Contents
What Are Microgreens?
Microgreens are baby vegetables and herbs that are harvested just after they begin to grow their first set of “true” leaves. The “baby” leaves that appear when a seed sprouts are known as the cotyledon leaves, so microgreens feature the cotyledon leaves as well as the first pair of true leaves.
Microgreens are tender, vibrantly colored, and loaded with flavor. They’ve exploded in popularity as a garnish or topping for soups, salads, sandwiches, and more.
Additionally, they’re a great source of nutrients and phytochemicals that offer a plethora of health benefits.
Some popular microgreens varieties include:
- Broccoli
- Radish
- Arugula
- Kale
- Cabbage
- Pea
- Sunflower
- Beet
- Cilantro
- Basil
- Swiss chard
- Leek
- Carrot
- Parsley
- Mustard
- Dill
Microgreens vs. Sprouts vs. Baby Greens
There are several varieties of young or immature vegetables and herbs available, including sprouts, microgreens, and baby greens.
Compared to microgreens, sprouts are younger and can be grown in less than one week. They’re typically grown using only water (without a growing medium like soil) and should be cooked prior to consumption.
On the other hand, baby greens are more mature than microgreens. They’re true leaves of a vegetable that are harvested before the plant reaches full maturity. They are more tender than fully matured greens and are often used for salads.
Benefits of Microgreens
In addition to their taste, texture, and novelty, microgreens are also extremely nutritious.
Despite their small size, microgreens are often richer in nutrients and antioxidants than fully-grown vegetables. Specifically, microgreens have been demonstrated to be more concentrated sources of iron, vitamin C, beta-carotene, zinc, potassium, calcium, and anthocyanin antioxidants (1).
The nutrients and antioxidants in microgreens are also easier to absorb than the nutrients in mature plants, in some cases. For example, iron from pea microgreens is more bioavailable than iron from mature peas (2).
Another benefit of microgreens is that they’re extremely easy to grow, both for home growers and commercial operations. They require very little water, small amounts of growing medium, and significantly less time than growing vegetables to maturity (1).
Because they’re grown indoors, they don’t require the application of pesticides — making it exceptionally easy to produce organic microgreens. Since they don’t require land, they also don’t deplete the soil. Additionally, the growing medium leftover after microgreens production can be added to compost to eventually help nourish the soil.
Growing Microgreens at Home
Below, we’ve detailed step-by-step how anyone can grow microgreens — with no special equipment needed.
Gather Materials
Here are the supplies you’ll need to successfully grow microgreens at home:
- Seeds: You can grow microgreens from many types of vegetable seeds. For the best germination, you may want to purchase seeds specifically selected to be grown for microgreens. You can purchase single-ingredient seed packets or blends of seeds made for certain taste profiles (like spicy or sweet) or health benefits (antioxidant- or fiber-rich).
- A container with a cover: Any shallow container will work, including clean to-go boxes with a built-in lid or aluminum pie trays with drainage holes punched out in the bottom. You can also purchase containers, lids, or trays designed especially for microgreens, many coming in compostable form. Lowe’s and Home Depot now carry microgreen grow kits!
- Potting soil or grow mats: You’ll also need a growing medium. You can use potting soil, or you can purchase microgreen grow mats made from materials like hemp, coco coir, bamboo, or jute.
- A spray bottle: A spray bottle is the easiest and gentlest way to water delicate microgreen seedlings.
Freedom Farmers is a valuable educational resource we found for beginning your journey into the world of mircrogreens — whether you’re living in a condo high rise or 5 acres of land, whether you’re growing for yourself and family or looking to make a entrepreneurial start growing greens commercially. Please remember us when you make your first million!;)
Soak Seeds
Optionally, you can soak your seeds in water for 6-8 hours. This may help them germinate faster, and it’s a good idea for larger seeds like peas or seeds with a very hard outer coating like lentils or coriander/cilantro.
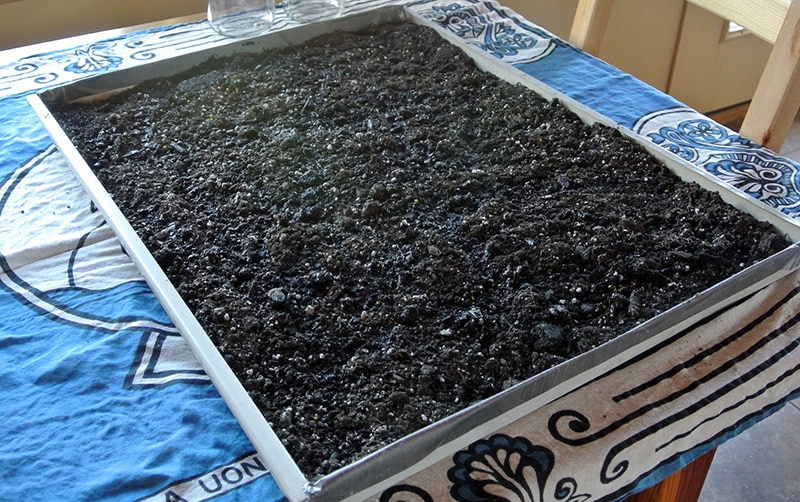
Prepare the Growing Medium
Place the growing medium in your chosen container and moisten it with water using the spray bottle. If you’re using potting soil, you only need a thin layer.
Plant Seeds and Cover
Scatter seeds across the growing medium. Don’t worry about spacing — microgreens are grown very close together and don’t require the same amount of space as they would need if you intended to grow them to maturity.
Then, water the seeds using your spray bottle and cover the container with a lid.
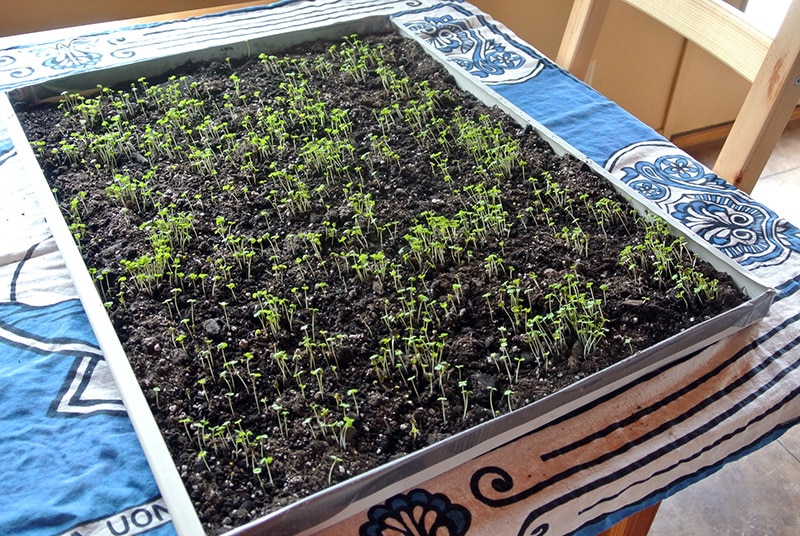
Uncover After Sprouting
You should see sprouts appearing within 3-7 days. Once sprouts become visible, remove the lid, place next to a sunny windowsill and ensure that your microgreens receive at least four hours of direct sunlight daily. If sunlight is a problem, consider investing in grow lights.
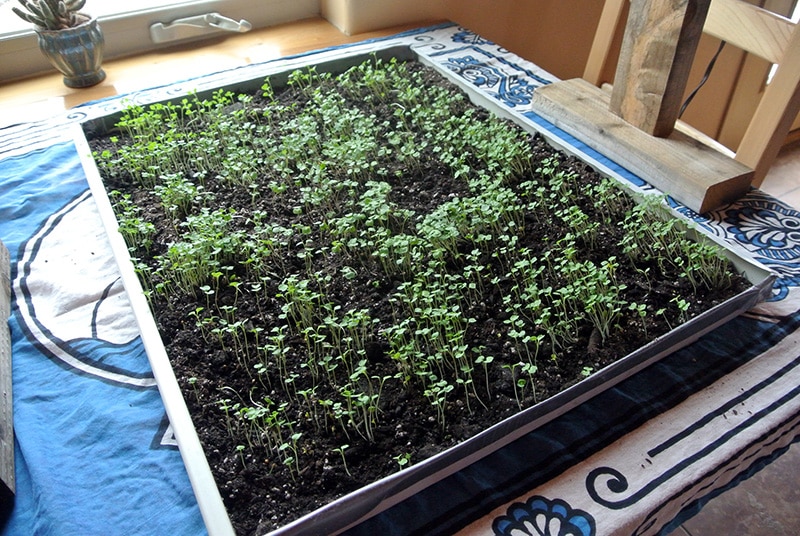
Water Daily
Starting from day one, water your microgreens daily — even when they’re covered and haven’t sprouted yet. Consistent moisture is very important.
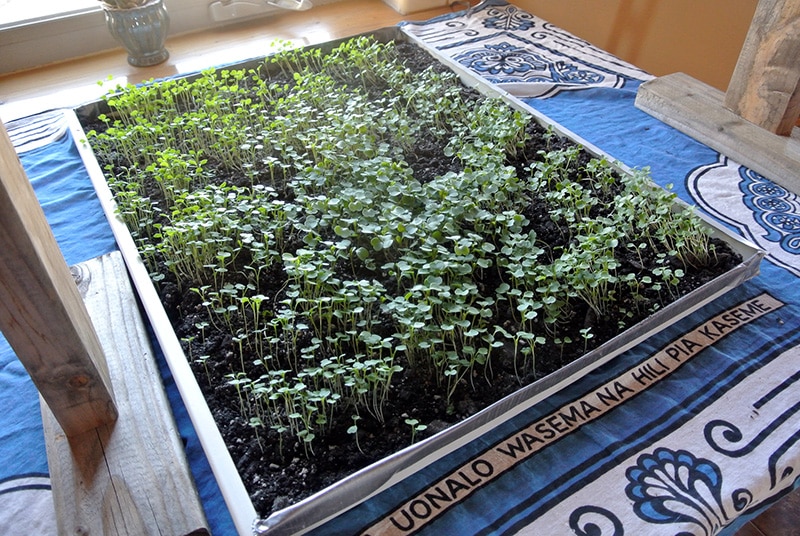
Harvest
Most microgreens are ready to harvest in about two weeks. They should be bright and vibrant in color, and each individual seedling should have only one set of baby leaves. You can harvest them easily by snipping them with kitchen scissors.
Your growing medium can then be composted. Note that you can’t regrow microgreens after you cut them, so you’ll need more seeds to grow future batches of microgreens.
Microgreens FAQ
Are microgreens healthier than regular vegetables?
Microgreens are more concentrated sources of certain nutrients and antioxidants than their fully-grown counterparts. However, they’re typically eaten in much smaller servings.
Can you eat microgreens raw?
Yes, you can eat microgreens raw or cooked. Make sure to wash them well before consuming. Sprouts, which are typically grown in a humid, soil-free environment are safest when cooked (3).
Is it okay to eat microgreens every day?
Yes, it is safe to eat microgreens daily.
How long does it take for microgreens to grow?
Most microgreens are ready to harvest in about two weeks, but some varieties may take longer.
Where can I purchase all my supplies?
Check out Zestigreens.