This is an update of Jessica’s popular 2011 recipe. Updated here to improve formatting, image sizes, etc. Enjoy!
Girl Scout cookies are among the first challenges to New Years resolutions across America each year. Just a few weeks into January (depending on where you live) and *boom* there they are, Daisies and Brownies in front of my local grocery store, persuasively selling sweet comfort in a box. The Thin Mints are pretty good, but I personally think Samoas are the best.
So I decided to use the opportunity to create a healthier version of Samoas cookies (or Caramel deLites) that allows me to keep my healthy eating habits on track. For me, that means a cookie that is vegan (egg free, dairy free), gluten free, and sugar free (or at least without refined sugar). And, ideally, tasty.
Oh, is that all? No sweat!
First I analyzed the original cookie. It’s essentially a shortbread cookie coated in caramel and then dipped in chocolate on the bottom and covered with coconut on the top. Nothing too difficult to figure out there, especially since I had a vegan shortbread cookie recipe already in the works.
Using that recipe, I was able to quickly whip up a nice batch of shortbread cookie dough:
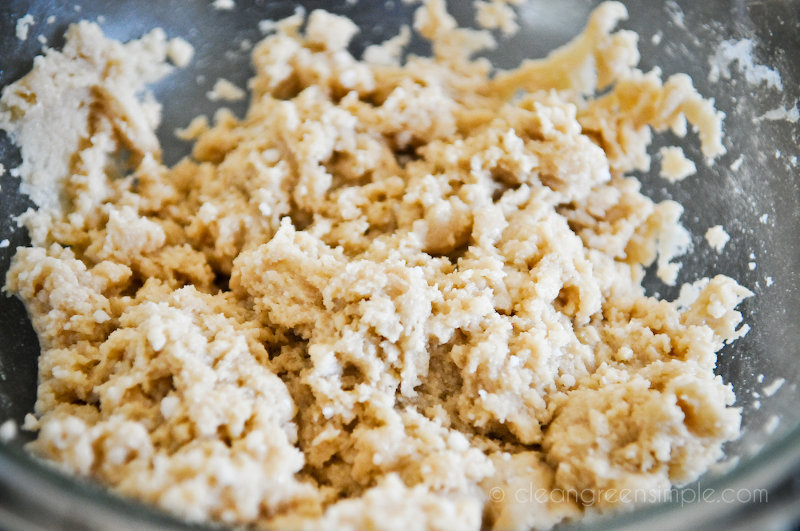
Which I set into the fridge to firm up while I tackled the caramel situation.
Given that caramel essentially is white sugar (boiled down and often mixed with cream, corn syrup or butter), this was definitely the trickiest substitution. Well, trickiest for me to figure out, but super easy for you to make!
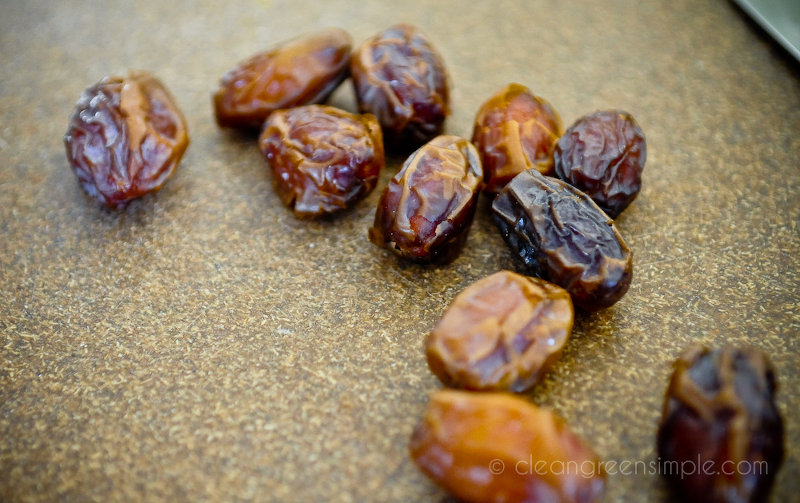
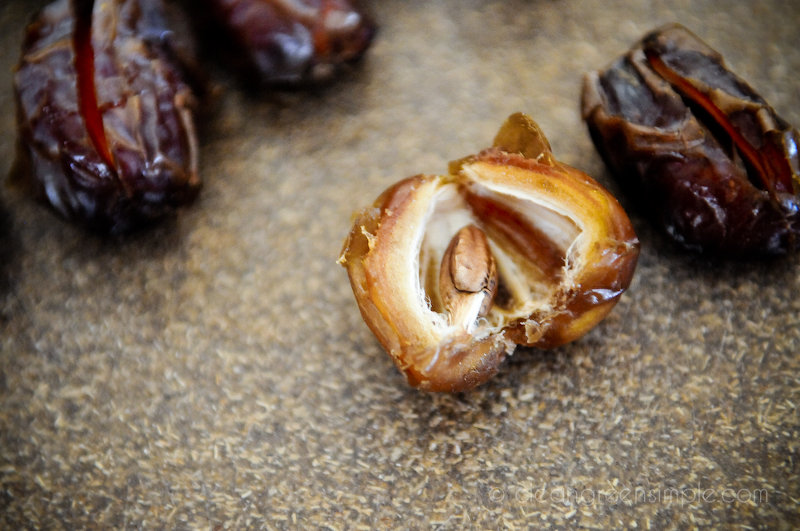
Start with a bunch of dates:
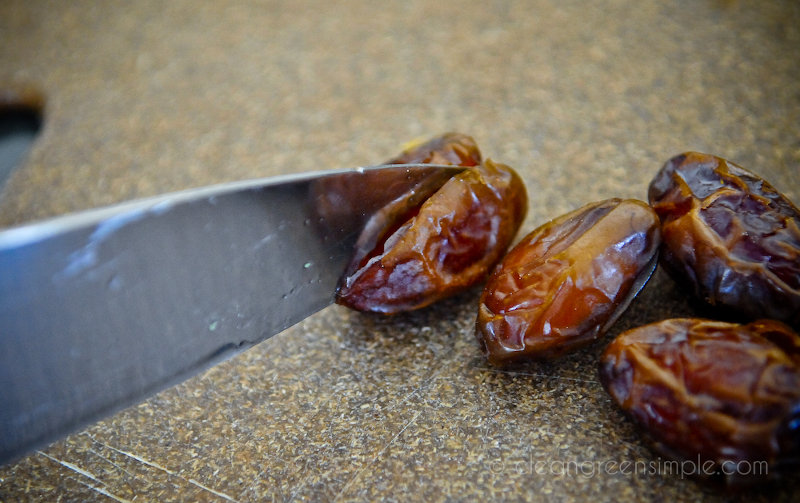
To quickly pit a lot of dates just slice them all down one side (it’s faster to do all the slicing at once)…
Then squeeze them from the ends to pop them open…
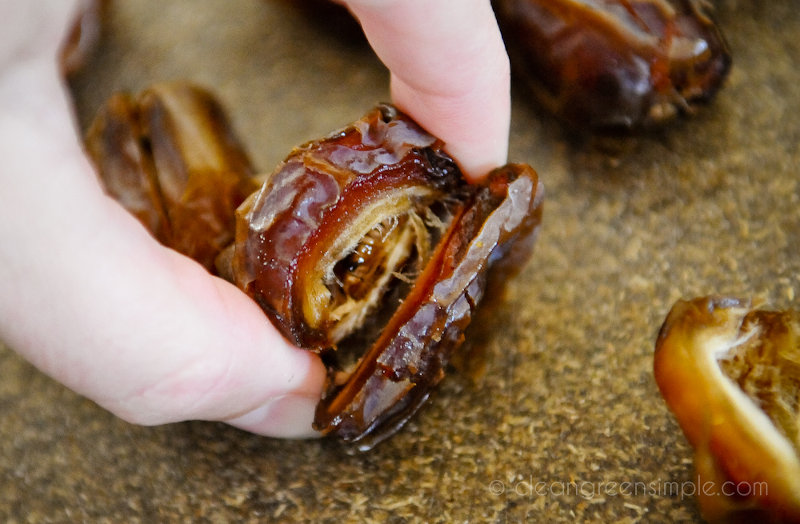
And pluck out the seed. Easy peasy, you’ve just given a dozen dates a c-section.
Throw your dates into a food processor along with 3/4 c. of coconut milk (I’d recommend the full-fat variety, we’re already doing enough to these poor cookies without skimping here), some vanilla, a handful of cashews, some agave, and a bit of salt. Blend until smooth and you’ve got yourself some Caramel-Like Substance™!
It’s actually pretty good. I think it would work well as a frosting base for a german chocolate cake, too–I’ll have to play with that someday.
I inexplicably did not take a photo of it before I frosted the cookies – bad me! It’s not quite as dark or shiny as caramel – more the texture of frosting. You’ll see it on the cookies below.
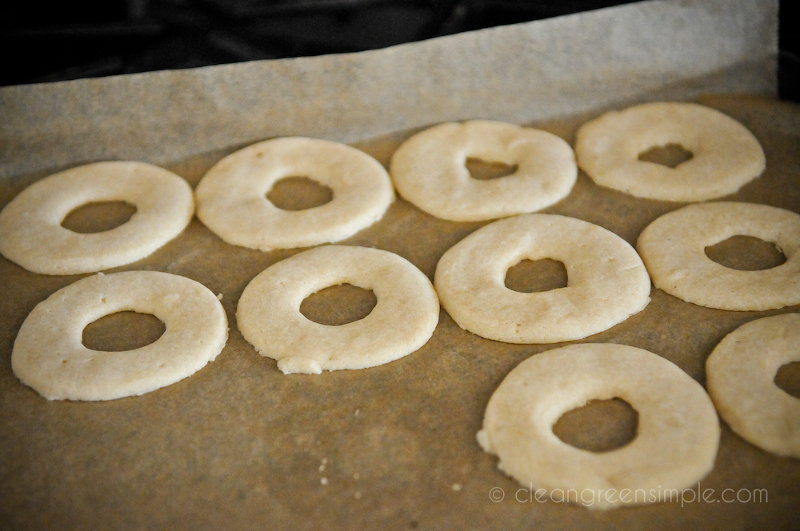
Stick your “caramel” in the fridge and take the cookie dough out of it. Roll it into a big thin sheet, maybe 1/4 inch thick, and use two circular cookie cutters to make ring shapes.
Or you can be like me and use the lid from a jar of yeast and the lid from a bottle of vanilla because you totally neglected to buy cookie cutters. Yay for being cheap and resourceful!

At this point you can transfer your cookies to a parchment lined cookie sheet (or silicone baking mat).
If the dough has softened a bit and they are getting hard to work with just stick the whole thing into the fridge for a few minutes until the dough firms up and you can pop the rings off with a spatula (sticking things in the fridge is a theme in this recipe–the fridge is your friend).
I am really terrible at working with shaped cookies like this so if I can do it I have complete confidence that you can do it!
Bake your cookies for 6-10 minutes until they are firm. They don’t get particularly browned or anything so just check them carefully and take them out once they are hard enough that they’re not going to fall apart on you. Mine looked like this after baking:
Now you’ve got your cookies ready to go, it’s time to put chocolate on them! I have historically had bad luck working with melted chocolate. It always seems to be hard to melt, firms up too quickly, or just generally tries to make me cranky. So this was the part I was most apprehensive about.
But the chocolate gods smiled on me and it was actually super easy. I just took a regular (3.5 oz) bar of 70% dark chocolate and broke it into big squares, and stuck it in a 2 quartt pot with 1/2 cup of rice milk.
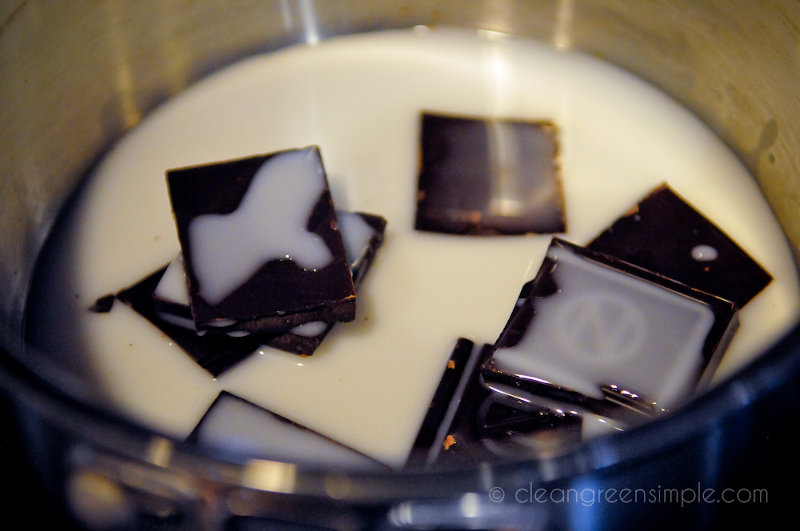
I melted it over medium heat (whisking frequently) for just a couple minutes and it blended together in a nice liquidy chocolate.
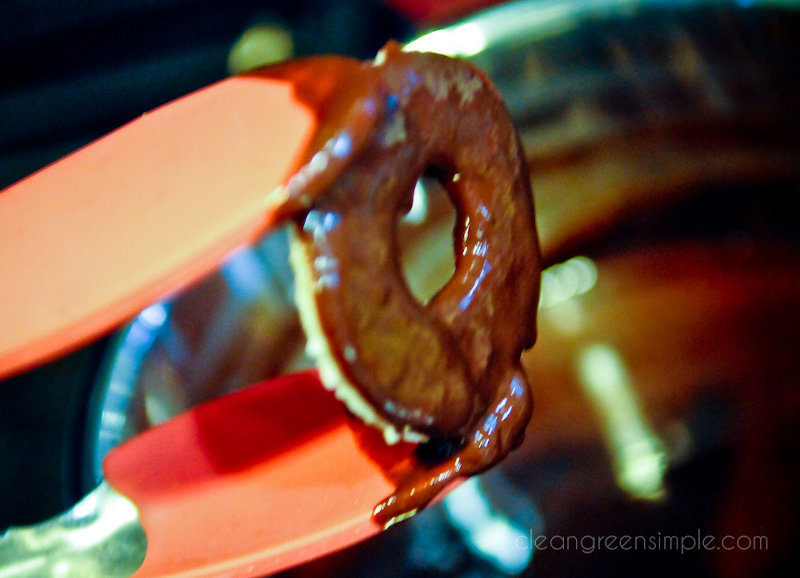
After turning off the heat I used tongs to gently dip the cookies into the chocolate. If you use a 2 quart pot the chocolate is actually shallow enough that even if you drop the cookie it still just coats the bottom half.
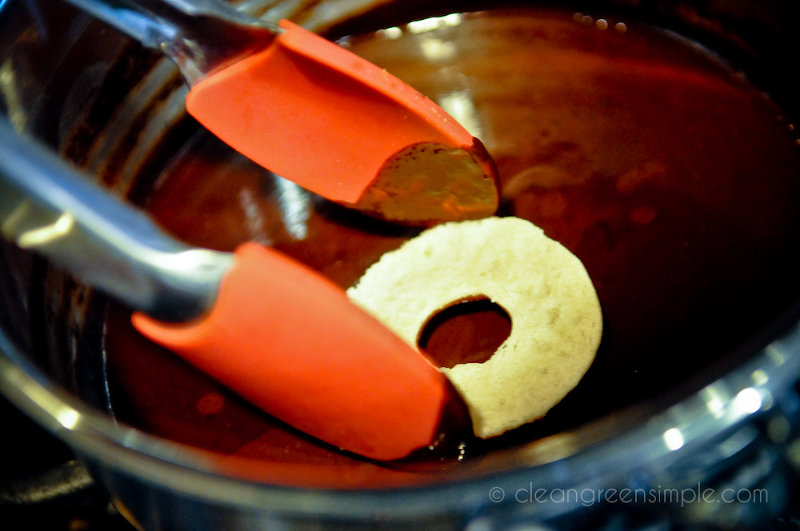
Please ignore the fact that I am totally dipping that cookie upside down in the photo. It’s pretty tough to do this and take a photo with your other hand! You actually want to coat the bottom of the cookie, not the top.
Set the cookies chocolate-side-up on a plate and stick them in the fridge for maybe 5-10 minutes so the chocolate can harden. I left the rest of the chocolate sitting in the pot and it didn’t harden up, but if yours does just turn the heat back on for a minute.
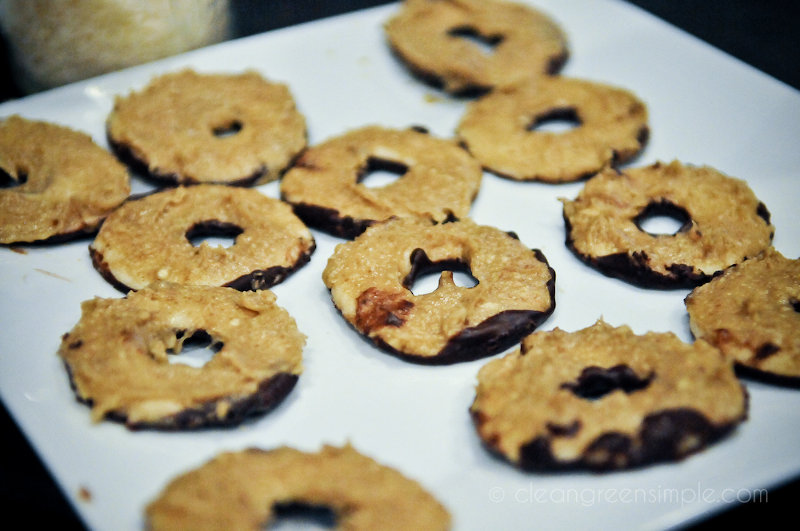
We’re almost done! All you have to do now is frost the other side of the cookies with your caramel sauce:
I tried frosting them before dipping them in chocolate but found it much easier to dip first, then frost. Because otherwise you’ll have to lay them frosting side down while the chocolate cools.
Then sprinkle them with toasted coconut. And by “sprinkle,” I mean “blanket them with a boatload.”
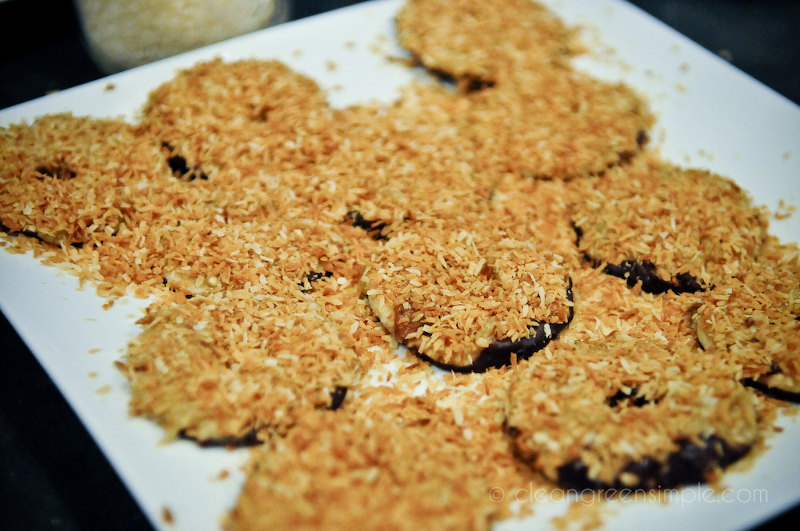
You may want to gently press the coconut into the frosting to make sure it sticks.
Now the fun part! To make the chocolate stripes you’re going to first line your cookies up into straight rows, and then take the rest of the liquid chocolate from the pot and pour it into a ziploc baggie.
Snip a very tiny hole into one corner and evenly let the chocolate flow out in rows. It should be liquid enough that you don’t have to squeeze, so just tilt the corner down and it’ll flow out, about four rows per cookie.

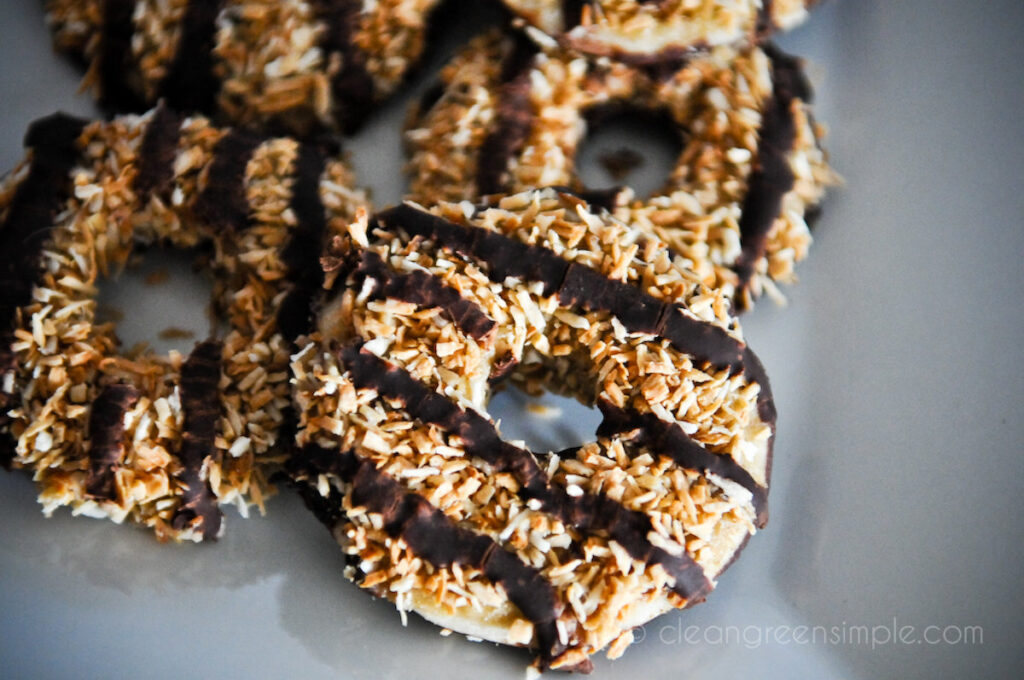
As you can see, how evenly I laid down my stripes sort of varied. Hopefully your hands are a bit more steady or you don’t really care how even your stripes are.
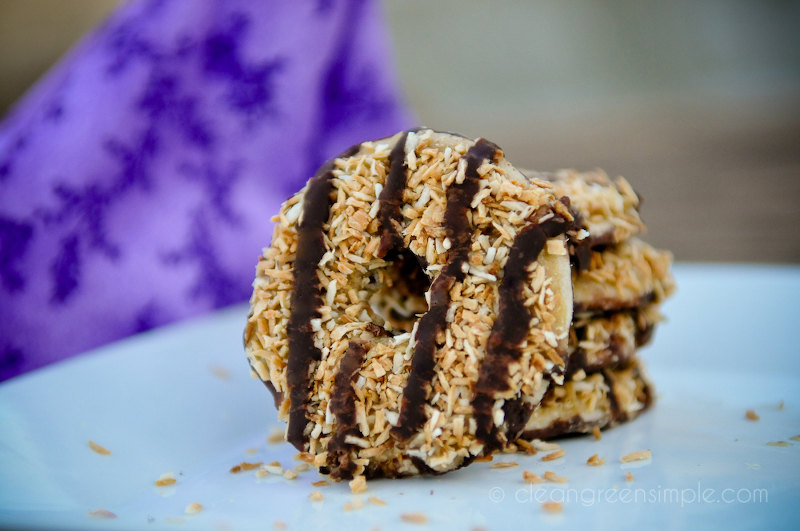
One last time, pop the cookies in the fridge to let them set, and then serve!
My cookies were a bit bigger and lighter than the originals, as you can see:
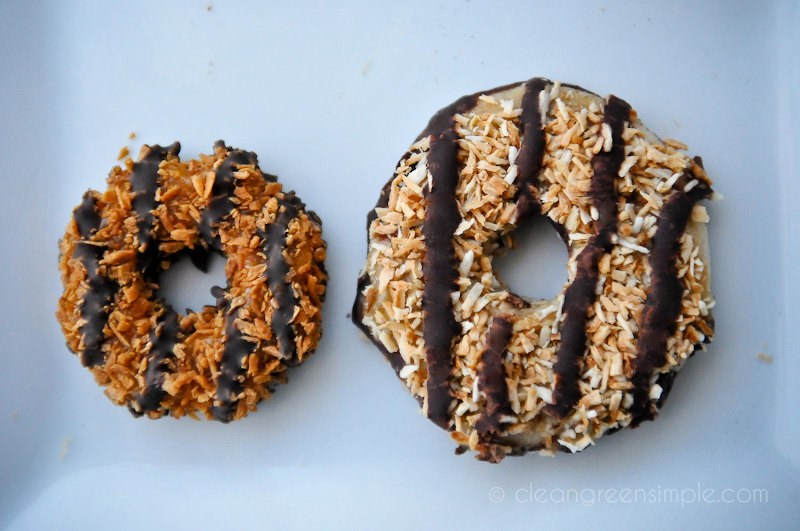
You could of course use a more sophisticated cookie cutter than mine (or smaller lids!) if you want to make them more petite, but I liked them this way. You could also toast your coconut a bit longer to make it darker.
Overall I’m gonna call this one a success! Since I can’t eat the original cookie, I recruited a few omni friends (and my mom) to do a side-by-side taste test for me and the consensus was that they taste similar but mine is a bit less sweet (although not necessarily in a bad way!). My mom says she likes mine better, and I’m sure she’s totally unbiased.
While these are still a fairly rich treat (with the coconut oil, coconut milk, and maple syrup it doesn’t seem quite right to call them “light”) they are definitely a lot healthier than the original and of course vegan, gluten free, and with no refined sugar!

Let me know if you try these, I’d love to hear how people think they stack up. What’s your favorite Girl Scout Cookie? These are mine, followed very closely by Thin Mints.

Table of Contents
Homemade Samoas Girl Scout Cookies (Vegan+GF)
Ingredients
Cookie Dry Ingredients
- 1/2+1/3 cup tapioca starch
- ¼ cup amaranth flour
- ¼ cup white rice flour
- 1/2+1/3 cup sweet rice flour
- ⅛ tsp sea salt
Cookie Wet Ingredients
- ¾ cup virgin coconut oil (nut free: use palm oil)
- ½ cup maple syrup
- 2 tsp vanilla extract
"Caramel" Ingredients
- 18 pitted dates about 1.5 cups
- ¾ cup coconut milk
- 1.5 tsp vanilla extract
- ½ cup cashews
- 3 tsp agave nectar
- ¾ tsp salt
Chocolate Frosting Ingredients
- 1 3.5 oz bar of dark chocolate I used 70% dark
- ½ cup rice milk or whatever milk replacement you prefer
Toasted Coconut Ingredients
- 2 cups raw, unsweetened coconut
Instructions
To Make the Shortbread Cookies
- Mix the dry ingredients in a bowl, and then sift.
- Mash the coconut oil into the dry ingredients so that it’s the consistency of tiny crumbs (pulse in a blender or use a fork or pastry cutter).
- Mix in the maple syrup and vanilla extract.
- Shape the dough into a ball and let chill for 15-20 minutes or until solid.
- Roll out the dough and cut shapes.
- Bake at 300 degrees for 6-7 minutes or until solid. If you use palm oil, bake for 7- 10 minutes.
To Make the "Caramel"
- Blend everything together in a food processor until smooth.
To Make the Chocolate Frosting
- Break chocolate into squares and heat in a 2 qt. saucepan with rice milk, whisking frequently, until melted and smooth.
To Make the Toasted Coconut
- Spread coconut out on a parchment lined cookie sheet and bake at 350 degrees for 5 minutes, stirring halfway through.
To Assemble the Samoas
- Using tongs, dip the bottoms of the cookies in the melted chocolate and place chocolate side up on a plate. Once you’ve dipped them all, refrigerate for a few minutes to allow the chocolate to harden.
- Once the chocolate is firm, frost the other side of the cookies with the caramel mixture. Place caramel side up on a plate and coat with toasted coconut, pressing lightly to stick the coconut to the caramel.
- Place the remaining melted chocolate into a ziploc bag and snip a tiny hole in one corner. Drizzle chocolate in straight lines over the cookies (it’s easiest if you line the cookies up into neat rows so you can just drag the bag up and down over several cookies).
- Refrigerate cookies for a few more minutes to cool the chocolate and serve!