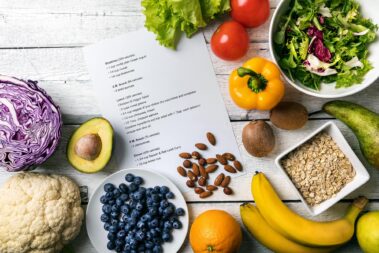
Whether your berry patch in the garden is killing it this year or you just hit the goldmine at the farmers market, you’re here for one reason: you’ve got more blackberries than you can eat!
Since these delicate little fruits don’t last long in the fridge, your options are limited. You can start cooking pies like your life depends on it, serve every meal with a side of berries, or start freezing them so you can enjoy blackberry season all year long.
For the latter option, you’ve come to the right place. Below, we’ll walk you through five simple steps for how to freeze blackberries so none of those precious fruits go to waste. Plus, we’ll tell you how to thaw those delectable berries and how to use them in some of our favorite blackberry recipes.
Table of Contents
What You’ll Need
Freezing blackberries is super easy. All you’ll need to get started are:
- A colander
- A clean kitchen towel
- A cookie sheet
- Parchment paper
- Freezer-friendly container or bag
The Simplest Way to Freeze Blackberries
Getting your blackberries ready to freeze only takes a few minutes while the freezing process itself takes about 3 hours. For best results, start the below freezing process when your fruits are at the height of ripeness.

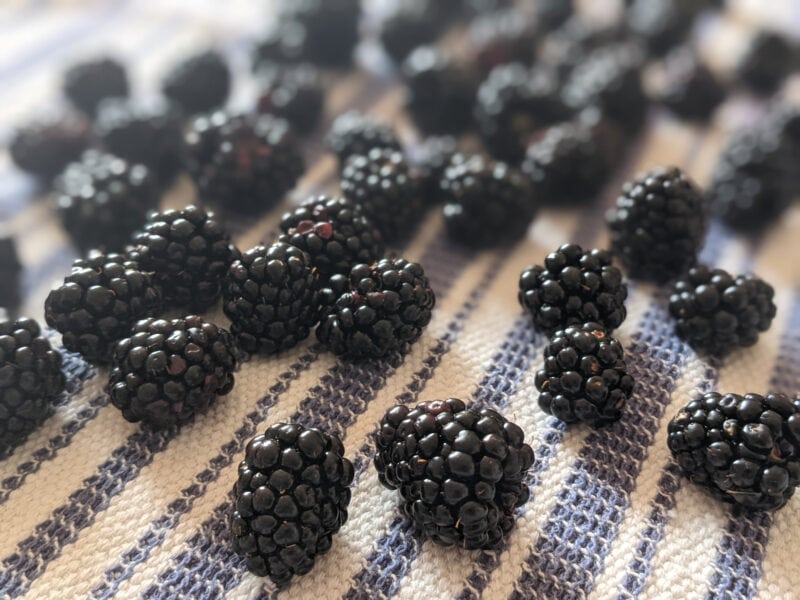
Step 1: Wash the Blackberries
For garden and organically grown blackberries, this is as simple as running the sweet berries under cool water using a colander.
If your berries aren’t organic, consider soaking them in a bowl of cool water and vegetable wash for about 5 minutes to remove any pesticides or chemicals.
Blackberries are fairly fragile, so be gentle during the soaking and rinsing process. Try to avoid jostling the berries too much, as smashed berries do not freeze as well as intact fruits.
Step 2: Lay the Blackberries Out to Dry
Once the berries are rinsed, carefully lay them out to dry on a clean kitchen towel.
Be sure there is adequate space around each berry to allow for optimal airflow. You can dab the berries lightly with a piece of paper towel or rotate them occasionally to speed up the drying process.
After about 5 to 10 minutes, your berries should be fully dry and ready for the next step.
Step 3: Transfer to Parchment-Lined Cookie Sheet
Find a cookie sheet that is large enough to hold all your berries (or multiple sheets, if needed). Then use parchment paper to line the sheet—this will keep the berries from sticking to the metal as they freeze.
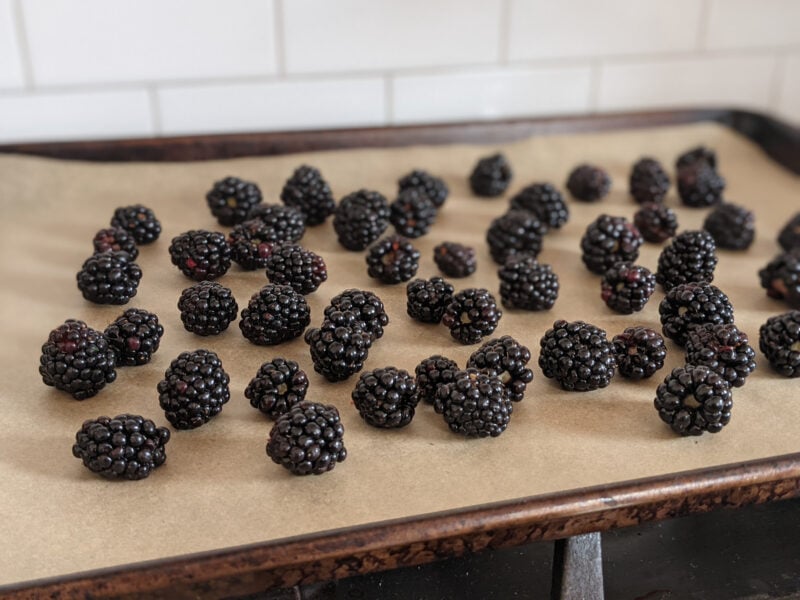
Place the berries on the parchment-lined tray and spread them out so none are touching. The more space between the berries, the faster they will freeze.
Step 4: Place Cookie Tray in the Freezer
Place the cookie tray in the freezer being careful to keep it level so the berries don’t roll around.
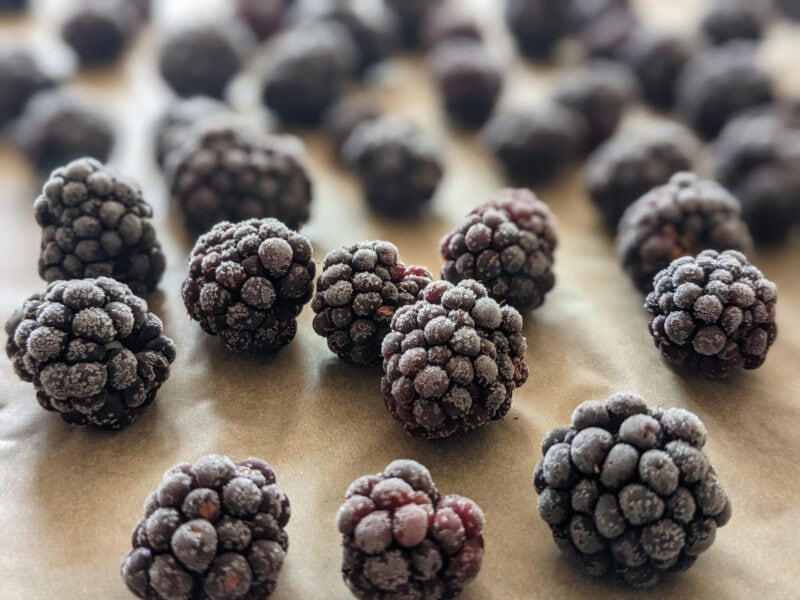
Leave the tray in the freezer for at least 3 hours. At this point, the berries should be frozen through and ready to be transferred to another container. You can leave the berries in longer—overnight if needed—but don’t go longer than 12 hours or you’ll risk freezer burn.
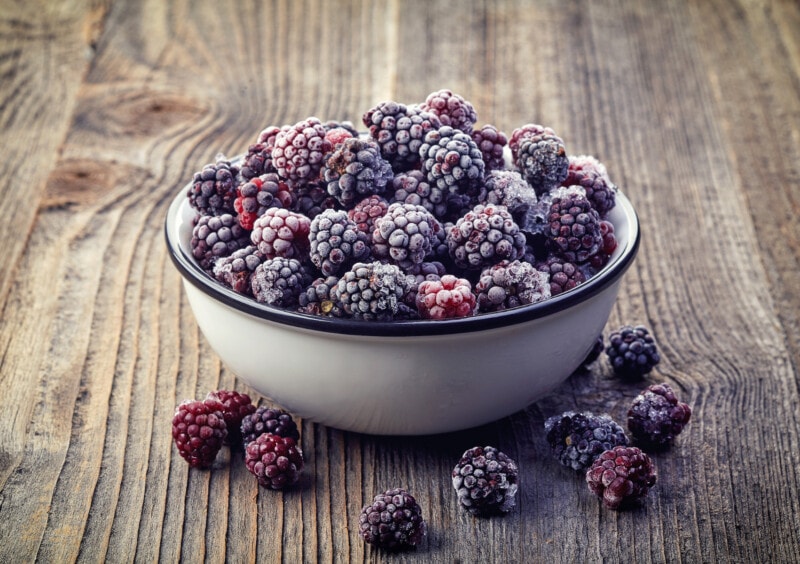
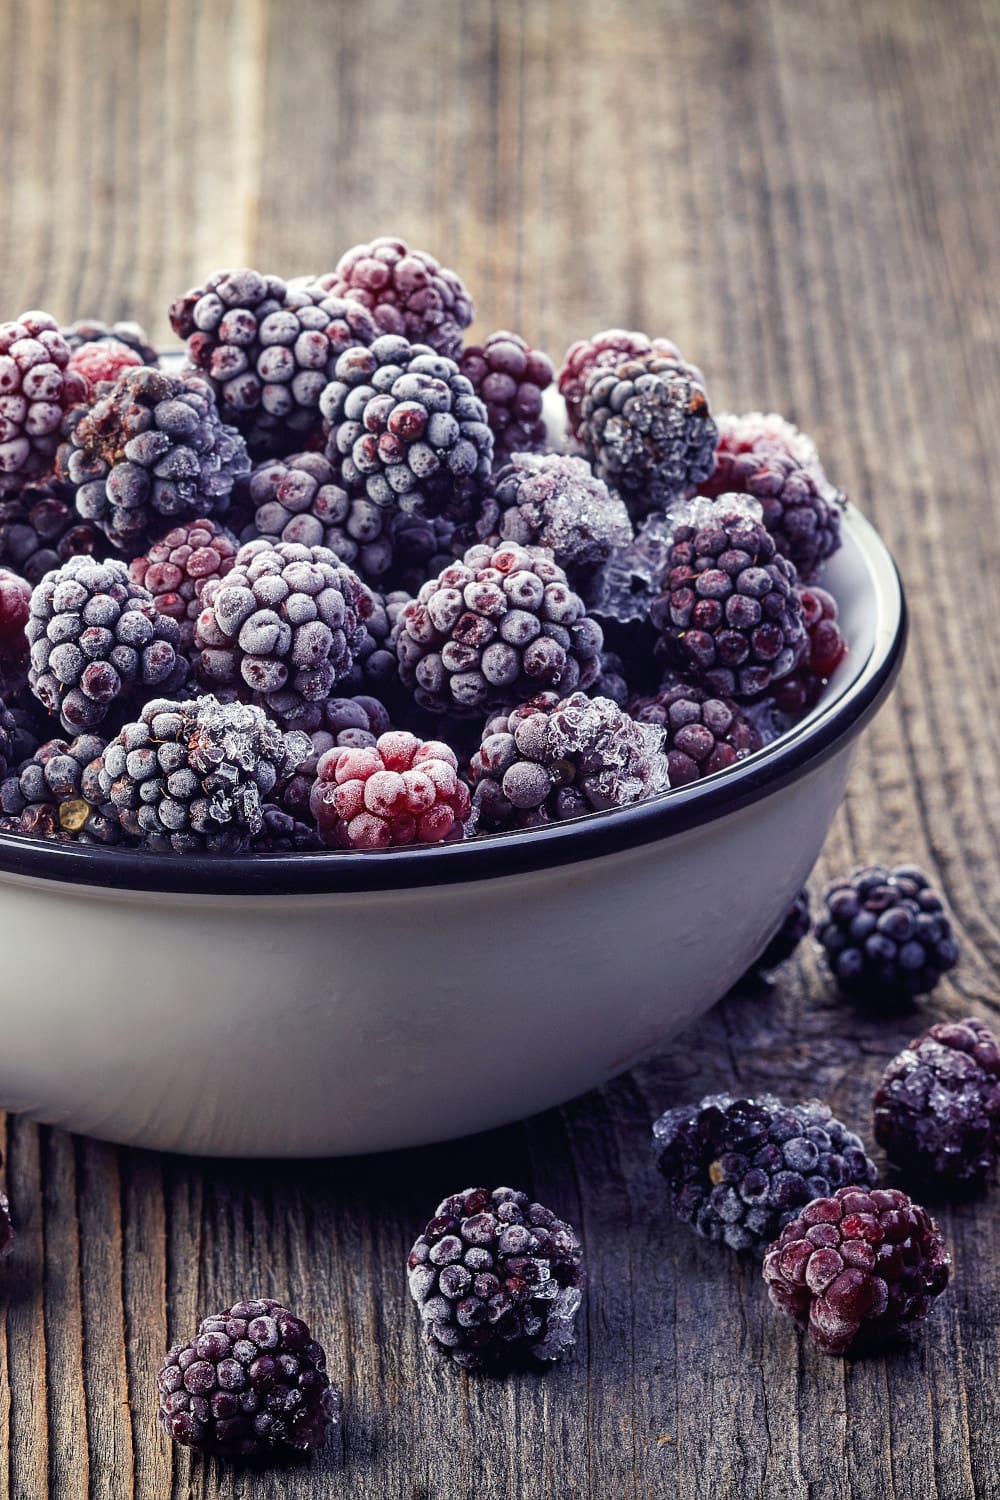
Step 5: Transfer Frozen Blackberries to Container
Once the berries are frozen through, transfer them from the cookie tray into a freezer-safe container. Ziplocks, reusable silicone bags, and solid containers will all work well for this.
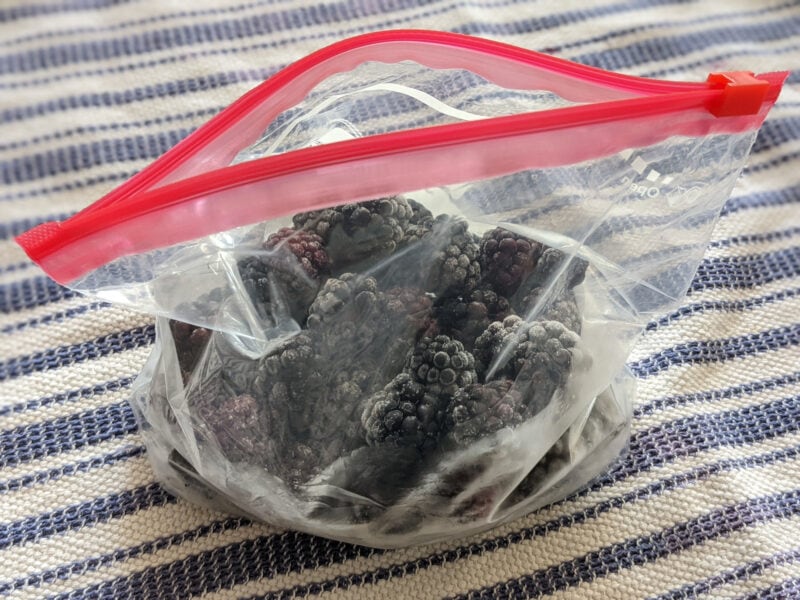
Be sure to mark the container with the date and use the berries within 1 year.
How to Thaw Blackberries
There are two super-simple methods for thawing frozen berries: the microwave and using cold water.
How to Thaw Blackberries in the Microwave
To thaw blackberries in the microwave, first, place the berries in a microwaveable safe container. Then set your microwave to defrost for 30 seconds. Stir the berries and put them back in for another 30 seconds on defrost.
One minute is usually enough time to thaw blackberries, but repeat as needed until the berries are defrosted all the way through.
How to Thaw Blackberries Using Cold Water
If keeping your blackberries intact is necessary for your recipe, then you’ll want to skip the microwave in favor of the cold water method.
To thaw your blackberries using the cold water method, simply pour the berries into a large bowl and fill the bowl with cool water. Wait for about 5 to 7 minutes. Once the berries are fully thawed, gently drain the water and enjoy.
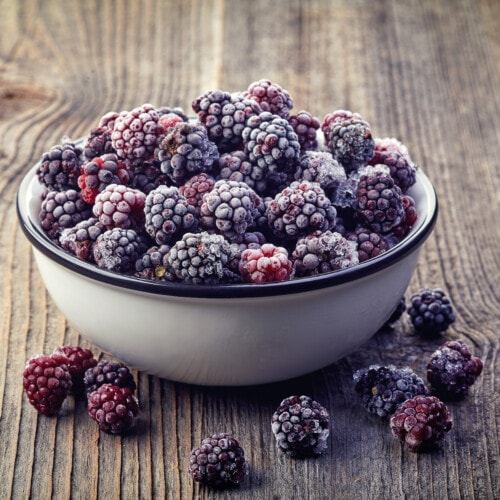
How to Use Frozen Blackberries
Thawing your blackberries may or may not be necessary depending on how you plan to use them.
Smoothies, homemade ice cream, and other cool treats are perfect for using frozen blackberries just as they are. Pies, muffins, and other baked dishes usually call for fresh berries, which means you’ll want to thaw yours before adding them to the recipe.
If you’re looking for some inspiration to help you use up a freezer full of delicious blackberries, look no further. Here are some of our favorite blackberry recipes:
- Southern Blackberry Cobbler – This vegan treat is easy to make and perfect for using up your frozen blackberries.
- Blackberry Crumble Bars – Looking for something healthy and vegan? These bars are packed with flavor, gluten-free, and only take 10 minutes to make.
- Blackberry Crisp Tart – This delicious dessert is gluten-free, refined-sugar-free, and the perfect pairing for a scoop of vegan vanilla ice cream.
- Blackberry Lemon Cobbler – Another great cobbler recipe, but with a lemony twist that is perfect for late summer and early fall.
- Blackberry Muffins – A simple twist on an old classic, these vegan blackberry muffins are sure to leave you wanting more and more.
- Blackberry Banana Bread – This tasty vegan banana bread is easy to make and delightfully beautiful.
- Blackberry Lime Scones – These vegan scones are easier to make than you might think and absolutely worth the time.
- Blackberry Galette – Impress your stomach and your guests with this fantastic vegan dessert.
How to Freeze Blackberries
Ingredients
- 1 cup fresh blackberries
Instructions
- Rinse the fresh blackberries under cool water using a colander. Be gentle to avoid damaging the fragile blackberries.
- Lay the blackberries out to dry on a clean kitchen towel. Allow to dry for at least 5-10 minutes.
- Transfer dry blackberries to a parchment-lined cookie sheet, taking care to spread berries out evenly over the surface.
- Place the baking sheet in the freezer taking care to keep it level. Allow to freeze for at least 3 hours, but no more than 12 hours.
- Gently remove the frozen berries from the tray and place them in a freezer-friendly container. Place back in the freezer for up to 1 year.
Recommended Tools & Products


Nutrition
I grew up in Colorado under the influence of three generations of knowledgeable women who knew their way around the garden. I graduated from Colorado State University with a bachelor of science in biology and a minor in English. A year before graduation, my life was upended by an unexpected diagnosis of Type 1 Diabetes.
Facing the reality of living with an incurable autoimmune disease I left to reflect hard on my lifestyle. While this type of diabetes cannot be cured or treated with diet, I was certain that focusing on my health and fueling my body with clean food would help better manage the condition. As a lifelong animal lover, it wasn’t difficult for me to transition fully to a vegan diet.
When I'm not constructing articles for clients, you can find me wrist-deep in dirt in my vegetable garden, hiking with my dogs, or back in front of the computer creating imaginative worlds in my quest to become a published fiction writer.
[email protected]
- How to Pick the Perfect Watermelon For a Sweet Summer Treat - April 10, 2024
- Future Kind’s Foundations: A Multivitamin Made for Vegans - December 5, 2023
- Does Nutritional Yeast Go Bad? - November 28, 2023