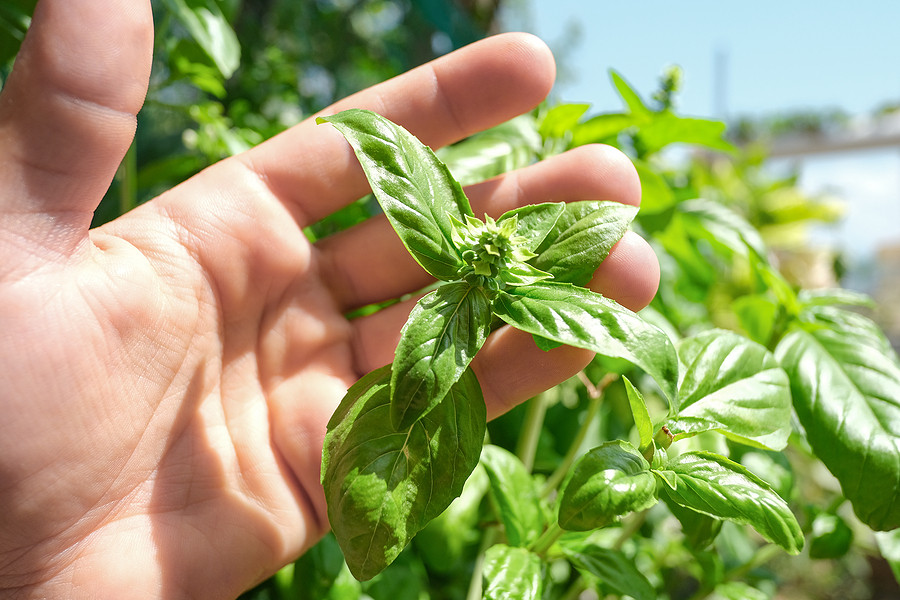
Basil is one of the most versatile and popular herbs and a pretty simple plant to grow in your home garden or even on your windowsill.
But sometimes the fact that basil is such a cinch to grow means you can end up with more of it than you know what to do with.
Instead of letting your beautiful, bushy basil go to waste as the season comes to a close, why not dry this delectable herb so you can enjoy the taste of fresh basil all winter long?
In this article, we will discuss how to properly harvest basil and how to dehydrate and air dry basil so you can continue to enjoy this delicate herb long after the growing season has ended.
Table of Contents
How to Harvest Basil Out of the Garden
Have you ever tried to buy fresh basil at the store only to find that every single container contained black or purple leaves mixed in with all the green? This common sight is a testament to how delicate this herb truly is.
Even the slightest bit of pressure can leave a freshly picked basil leaf black and unsightly. To avoid this problem with your own homegrown basil, it is important to be as gentle as possible. When handling and transporting it, grasp it by the stems only, taking care not to touch or bend the leaves.
Beyond that, harvesting basil is fairly straightforward (and delicious!). We love mixing fresh basil into this perfect summertime pasta dish.
1. Harvest based on the size of your plant
Once a plant has reached six leaves, it is big enough to harvest from. For grab-and-go amounts needed for a recipe, simply pinch or cut off the top pair of leaves at the end of any branch.
For larger harvests, such as for drying, wait until your plant is a bit bigger. Then, cut up to two-thirds off of each branch. Locate a pair of leaves around one-third of the way up from the ground or main stalk, and cut right above them.
Harvesting early in the morning, before the heat of the day hits your plant, will allow for a higher concentration of oils in the leaves and a tastier product overall.
2. Prune back flower stalks
Plants have to put a lot of energy into growing flowers and producing the seeds that come from them. This often means less overall growth and, with basil specifically, less usable foliage. To keep your plant producing plenty of tasty leaves all season, trim back any flowering stalks as they appear.
3. Harvest often for bushier plants
The more often you harvest your basil, the bushier the plant will be.
Large harvests will really help your plant bush out but will also mean longer wait times between harvests. Small harvests won’t produce quite as many leaves in the long run, but you will be able to harvest anytime you want.
How to Dry Basil by Air Drying
Once you have your large basil harvest procured, you are ready to start the drying process.
Basil leaves are thick and oily, making them a challenge to air dry, but it can be done with a little patience. The key is to allow for plenty of airflow.
1. Bind the stalks together
If needed, start by rinsing your basil to remove any bugs or dirt. Once washed, lay the branches down on a piece of paper towel and allow them to dry fully before moving on. You may want to turn each branch a few times to assure there is no moisture trapped in the foliage.
Once the basil is dry, begin tying bundles together. Keep the bundles small–no more than 5 stems–to assure proper airflow during the drying process. Tie the stems at the very end so the leafy ends are free to spread out.
Leave enough string sticking out from the knot to hang your bundles on a hook or knob.
2. Cover with a paper bag
Once you have all of your basil bundles made, you have the option to cover them with a paper bag.
Paper bags are useful for not only catching stray leaves that may dislodge during the drying process but also for keeping dust and bugs out of your harvest. But, they can also prolong the drying process by reducing airflow.
If you do choose to tie a paper bag around your bundle, cut a number of slits or punch small holes in it (on all four sides) to help encourage quick and uniform drying.
3. Find a dry, dark, warm location
Hanging your bundle in a dark location is key to keeping the leaves tasting fresh even as they dry. Finding somewhere dry and dark will help expedite the drying process.
Dry basements, garages, and a dark cupboard in a sunroom are all great choices. Even a kitchen pantry will work well assuming it is not too humid or cool.
Hang each bundle from a separate hook, knob, or shelf so the air can easily move through them.
4. Test after two weeks
In a hot, dry place, basil will typically be done drying after two weeks.
To test your basil, simply pluck off a leaf toward the center of a bundle and roll it between your fingers. The leaf should crumble easily into many small pieces. If it folds or only breaks into larger pieces that still have some give, your bundles are not dry enough. Give them another few days or a week and then test again.
How to Dry Basil with a Dehydrator
If you don’t have the patience or the space to hang dry your basil, then a dehydrator is going to be your best option. These versatile machines can be pricey, but there are limitless possibilities for their use, especially if you have an over-productive garden.
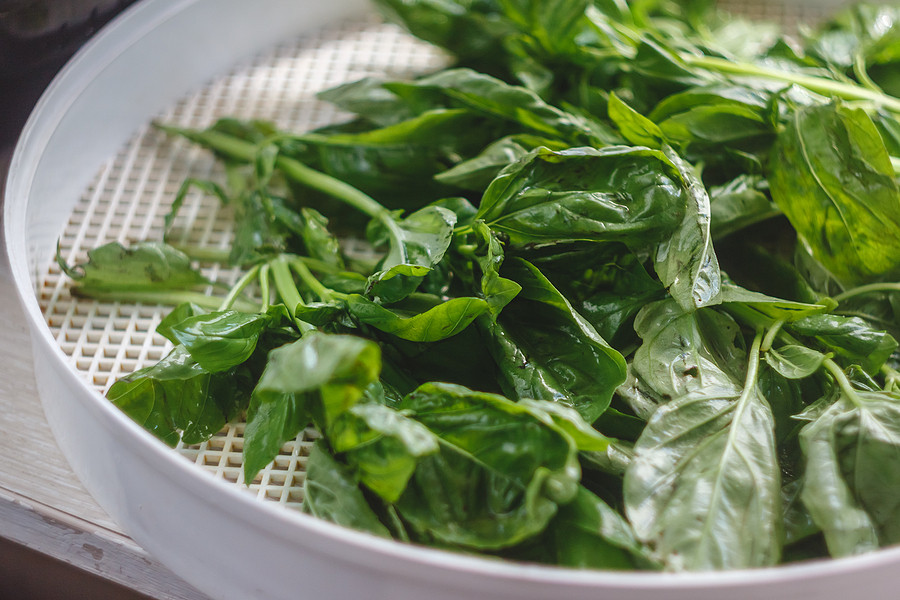
1. Lay the leaves flat on the dehydrator trays
Start by gently plucking the leaves off the stems. Lay the leaves on the dehydrator trays so that none are overlapping. Try to flatten the leaves as much as possible, but remember that excess handling can lead to bruising.
2. Set the temperature to 100 degrees
One hundred degrees tends to be a good temperature for most varieties of basil, though smaller leaf types, like greek or dwarf varieties, may do better at 90 degrees. On the other hand, very thick, oily leaves, like licorice or lettuce varieties, may dry better at 110 degrees.
3. Test after 12 hours
Smaller, thinner varieties will be fully dried after 12 hours, but most types of basil will require a bit longer, often up to 18 hours.
Check the leaves for dryness by rolling one between your fingers. It should crush easily with pressure. If it rolls, you probably need to dehydrate the batch for a few more hours.
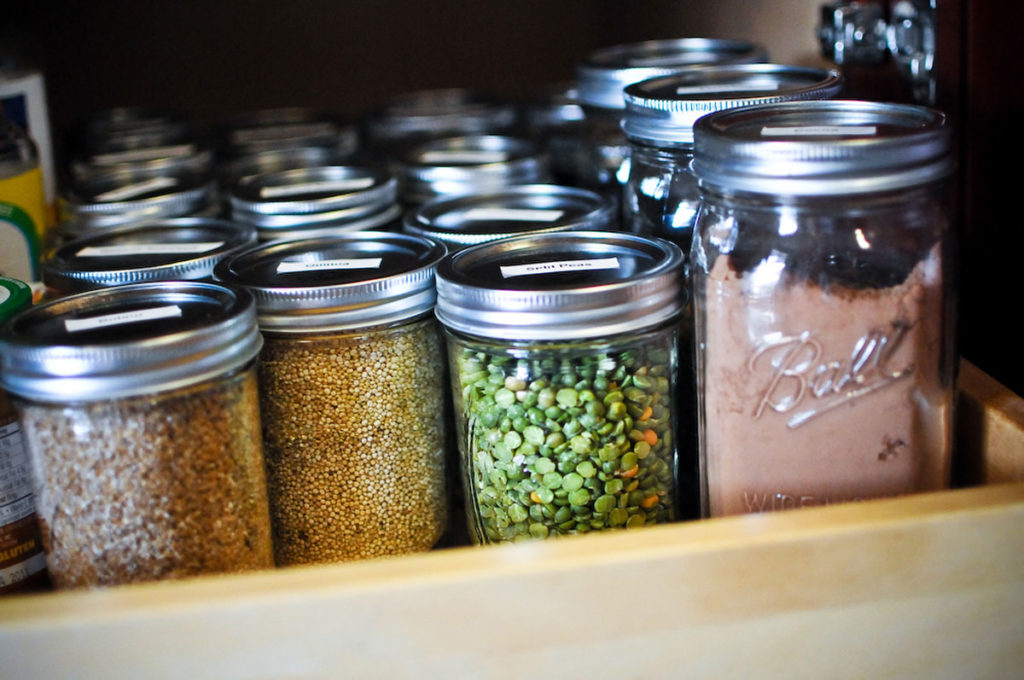
How to Store Dried Basil
Once you have dried your basil, it is time to store it for use throughout the rest of the year.
Reusing old spice jars or even small mason jars is a great economical storage option. Airtight containers will keep your basil fresher longer and glass is always the preferred material for these oily herbs.
If you airdried your batches, remove the leaves carefully from the stems. Once you have the leaves separated from all other parts of the plant, begin crumbling them up with freshly-washed hands onto a clean piece of paper.
Break the leaves up into as small or as large of pieces as you prefer.
Once your paper is full or your batch is done, use the paper as a funnel to pour the freshly ground dried basil into your containers.
Dried herbs can be used for years, but they will start to lose their flavor with time. Excess light can expedite the degradation process, so keep your herbs in a cupboard or pantry when they are not in use. If you would rather store them in your countertop spice rack, just make sure to choose solid metal containers or tinted glass jars.
I grew up in Colorado under the influence of three generations of knowledgeable women who knew their way around the garden. I graduated from Colorado State University with a bachelor of science in biology and a minor in English. A year before graduation, my life was upended by an unexpected diagnosis of Type 1 Diabetes.
Facing the reality of living with an incurable autoimmune disease I left to reflect hard on my lifestyle. While this type of diabetes cannot be cured or treated with diet, I was certain that focusing on my health and fueling my body with clean food would help better manage the condition. As a lifelong animal lover, it wasn’t difficult for me to transition fully to a vegan diet.
When I'm not constructing articles for clients, you can find me wrist-deep in dirt in my vegetable garden, hiking with my dogs, or back in front of the computer creating imaginative worlds in my quest to become a published fiction writer.
[email protected]
- How to Pick the Perfect Watermelon For a Sweet Summer Treat - April 10, 2024
- Future Kind’s Foundations: A Multivitamin Made for Vegans - December 5, 2023
- Does Nutritional Yeast Go Bad? - November 28, 2023