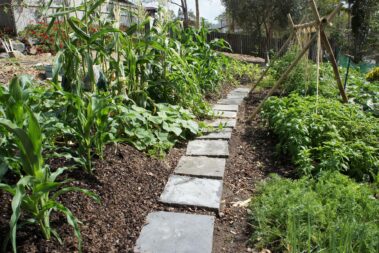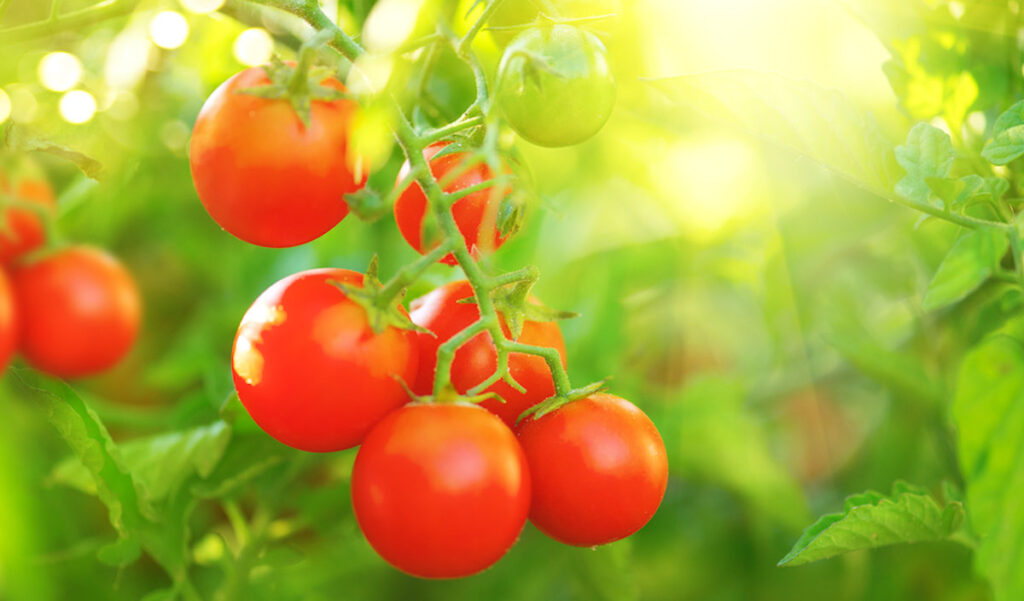
Few vegetable plants produce with quite the same vigor as the cherry tomato. And that characteristic combined with their love of warm soil, desire for constant tending, and bushy shape makes them perfect for container gardening.
With a few simple tips even the novice gardener can have success growing cherry tomatoes in pots.
Table of Contents
9 Simple Tips for Creating a Bountiful Cherry Tomato Container Garden

Before you plan your cherry tomato container garden, you’ll need to consider your pot size, the variety of plants you want to grow, and a few other aspects you may not have considered. Here are our pro-tips for creating the perfect cherry tomato container garden.
1. Find the Optimal Spot
All tomatoes like a lot of sun and a lot of heat, and cherries are no different. But even if your patio lacks full-sun, it’s still possible to grow this sweet veggie. Look for a spot with at least six hours of sun, with eight-plus hours being ideal.
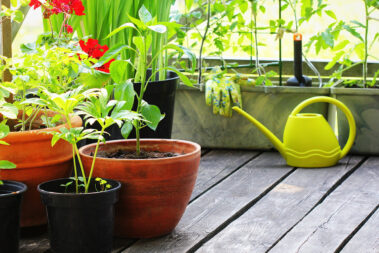
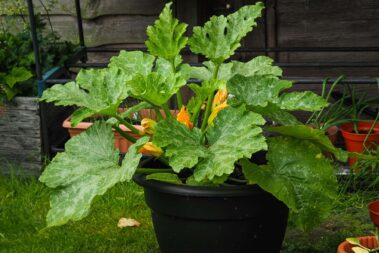
2. Select the Right Container
Your container should be at least a foot deep. But, more importantly, look for a pot that is a minimum of 14 inches wide and can hold at least five gallons. Make sure there are plenty of drainage holes in the bottom and don’t be afraid to drill out a few more if needed.
3. Prep Your Soil
Choose a quality organic potting soil made for veggies (standard garden soil won’t work for potted tomatoes). Most commercial potting soil comes packed with nutrients to get your tomatoes off to the right start but adding a few scoops of compost can give your veggies an extra boost.
The most important thing is to choose a potting mix that is well draining. Too much moisture for too long can cause growth problems for the roots.
You can also make your own potting soil by mixing perlite or vermiculite with peat moss and compost.
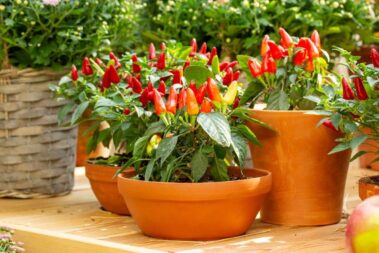
4. Choose Your Plant Type
The best cherry tomatoes to grow in pots are bush varieties like Baxter’s Bush Cherry and varieties named for their excellent growth in containers such as Patio Princess and Balcony cherry. If you’re short on space try Tiny Tim cherries. If you often forget to water, Bings are your best bet.
5. Sow or Shop
Most garden supply stores sell organic cherries if you don’t have the patience to start plants from seeds, but they won’t have as many varieties as seed catalogs. If you have the space inside and a southern facing window, it’s worth it and less expensive to grow your own seedlings in the spring and transfer them outside after the last frost.
6. Feed and Water
When your cherry tomatoes are in pots you’ll need to water them daily, assuming proper drainage. Two weeks after planting, make sure one watering each week contains a soluble balanced fertilizer. After plants begin to flower switch to a high-potassium fertilizer.
If you find your soil is drying out too quickly, try adding some mulch to the top. Bark, straw, or wood shavings all work well to trap moisture.
7. Maintain for Maximum Fruit Production
Even compact, bushy container varieties will likely need some form of support as they fruit. Use a standard tomato cage or, even better, a snap-together cage that can be formed to fit your plants’ needs. Most cherry tomatoes will take about 10 weeks to grow and start producing fruit. Don’t over prune your cherries, but do pinch-off new leaf shoots in thick areas to promote better airflow.
8. Harvest, Harvest, and Harvest Some More
Indeterminate varieties will produce fruit all summer long and should be picked as the cherries ripen. Determinant types will fruit all at once with all tomatoes ripening around the same time. Picking your tomatoes before they overripen will help avoid unwanted attention from bugs.
9. Prepare for the Frost
Indeterminate plants will continue to fruit well into fall, beyond the first frost. If you want to continue to collect fruit, you can bring your plant inside during cold spells. Otherwise, collect all green fruit before the frost and place them in a box with newspaper separating each row. They will continue to ripen over the next few weeks.
Why You Should Grow Cherry Tomatoes in Pots (Even if You Have a Garden!)
While most people might see a lack of yard and limited space as a negative when talking about gardening, there are actually some benefits to growing your plants in containers rather than putting them in the ground.
For starters, potted plants are a lot easier to keep weed-free and can save on water and fertilizer use.
But, when looking at cherry tomato plants specifically, the benefits go much further than that.
These sweet little plants love attention. They grow fast and require a lot of maintenance to preserve their shape and help them produce the optimal amount of fruit. And, when they do start making fruit, they do so almost constantly. Both these traits make growing cherry tomatoes as close to your door as possible the best choice.
Pots will also keep these sensitive plants out of the reach of pests and give them enough airflow to reduce the incidence of disease. Plus, the superior drainage and limited soil in containers make adjusting nutrient ratios much easier than in in-ground gardens.
Overall, cherry tomatoes were made for living life in pots. But if you want to maximize your yield and minimize your effort, you’ll want to keep reading for some step-by-step tips for growing cherry tomatoes on your patio or deck.
Extra Tips and Tricks
Staking Potted Tomatoes
Depending on the cherry tomato variety, you’ll likely need to provide some kind of support to the vines as the plant grows. Traditional tomato cages can be used in pots so long as the container is deep enough to support the stakes. Tying the stems to bamboo poles, or surrounding the plant with chicken wire or a buildable tomato trellis also works.
But keep in mind, potted tomatoes can quickly become top-heavy. When this happens, the containers are at risk of blowing over in the wind.
One way to counteract this is to secure your pot to your deck or patio. Alternatively, you can build a tomato cage to sit over the pot, like this one.
Indeterminate Tomatoes vs. Determinate Tomatoes
Cherry tomato plants fall into one of two categories based on their growth habits.
Indeterminate plants grow without end. This means they will continue to produce tomatoes all growing season long. It also means that they’ll continue to grow larger and larger all summer.
These types are not the best option for container planting since they tend to get so large.
Determinate cherry tomatoes grow to a certain height before flowering and producing fruit for a period of time. These tomatoes stay much smaller.
In fact, they’re often called bush tomatoes. But they also produce less fruit than indeterminate plants.
Because of their smaller, more compact size, determinate tomatoes are the best types for container planting.
By choosing a variety of determinate cherry tomatoes (and even grape tomatoes) that mature at different times, you can extend your harvest season without having to battle over-sized plants.
Common Problems You Might Run Into
Tomatoes are a finicky plant, and even the best-intentioned gardener can run into trouble. Here are some of the most common issues with growing cherry tomatoes in pots and how to deal with each.
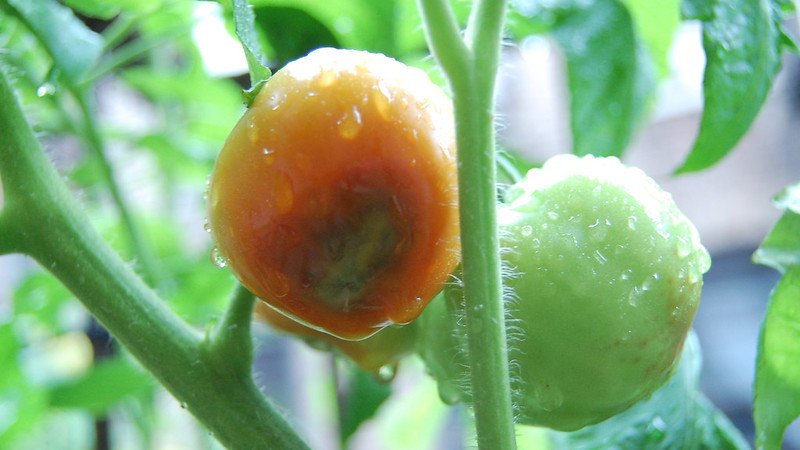
- Blossom End Rot – A lack of calcium in the soil can cause the ends of your tomatoes to turn black. Look for a higher calcium fertilizer or grind up dry eggshells and spread over the soil
- Fruit Cracks – If your cherry tomatoes start to split open, it’s a sign your plants are starving for water and taking up too much when they finally get some. Try to water more consistently so the soil stays damp at all times.
- Early Blight – Yellowing leaves with brown bullseye spots indicate a plant infected with a fungus. Cut off the infected branches and trash them before the infection spreads too far. Blight overwinters in the soil so be sure to dump your pots at the end of the season and start fresh next year.
Luckily, even when small issues like these tend to crop up, you can usually still secure a good tomato yield by making small adjustments to your watering and fertilizing techniques. Being able to quickly and easily make these adjustments is just one more reason why it’s easier to grow cherry tomatoes in pots rather than in the ground.
How many cherry tomato plants can I put in one container?
You should only plant one cherry tomato plant per pot or container. If you have a large raised bed or extended container, you can plant more tomato plants as long as you can place them at least 18 inches apart.
How much depth do cherry tomatoes need to grow?
Cherry tomatoes need at least 12 inches of dirt to grow in. When choosing a pot for your cherry tomato, look for pots that are at least 15 inches tall. The deeper the pot, the larger the tomato will be able to grow.
Do you need two cherry tomato plants to produce fruit?
No, you do not need multiple plants for cherry tomatoes to produce fruit. Tomatoes are self-pollinating, which means a lone plant can set fruit without being pollinated by another plant.
Our Favorite Cherry Tomato Recipes
The best reason for growing these great veggies so close at hand is having tasty, fresh cherry tomatoes within reach all summer long. When the harvest starts coming in, check out these great cherry tomato recipes for inspiration on how to put your homegrown tomatoes to use.
- Easy Vegan Summer Pasta Salad – This tasty pasta salad features tangy cherry tomatoes, zesty red onion, and crunchy cucumbers.
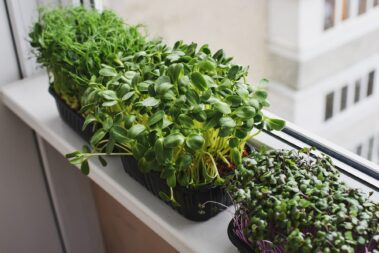
- Cashew Ricotta Pizza with Microgreens – This fantastic pizza is like no other you’ve had before and is a great way to put your bountiful harvest to use.
- Vegan Taco Salad – This salad is packed with vegetables, including cherry tomatoes, and some tasty additions like tempeh walnut taco meat and vegan cilantro salsa dressing.
- Vegan English Breakfast – Start your day a new way with this English favorite that includes vegan sausages, a tofu scramble, and plenty of fresh vegetables.
- Vegan Cobb Salad – This deliciously crunchy salad features coconut bacon and eggy tofu plus a heaping of fresh cherry tomatoes.
If you need more cherry tomato goodness, check out these 13 cherry tomato recipes.
Loving these gardening tips and vegan recipes? Get more like it delivered right to your inbox by signing up for our newsletter.
Final Word on Growing Cherry Tomatoes in Pots
When it comes to container gardening, growing cherry tomatoes is one of the simplest endeavors, but you still need to get a few things right. By following our tips above, you should have no problem growing bucketloads of juicy, tasty little tomatoes.
Have you tried growing cherry tomatoes in pots? Tell us about your experience in the comments section below.
I grew up in Colorado under the influence of three generations of knowledgeable women who knew their way around the garden. I graduated from Colorado State University with a bachelor of science in biology and a minor in English. A year before graduation, my life was upended by an unexpected diagnosis of Type 1 Diabetes.
Facing the reality of living with an incurable autoimmune disease I left to reflect hard on my lifestyle. While this type of diabetes cannot be cured or treated with diet, I was certain that focusing on my health and fueling my body with clean food would help better manage the condition. As a lifelong animal lover, it wasn’t difficult for me to transition fully to a vegan diet.
When I'm not constructing articles for clients, you can find me wrist-deep in dirt in my vegetable garden, hiking with my dogs, or back in front of the computer creating imaginative worlds in my quest to become a published fiction writer.
[email protected]
- How to Pick the Perfect Watermelon For a Sweet Summer Treat - April 10, 2024
- Future Kind’s Foundations: A Multivitamin Made for Vegans - December 5, 2023
- Does Nutritional Yeast Go Bad? - November 28, 2023