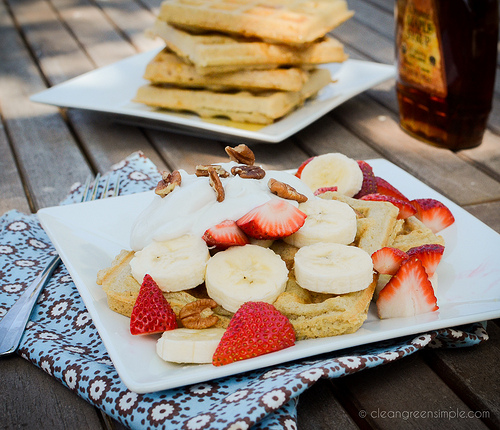
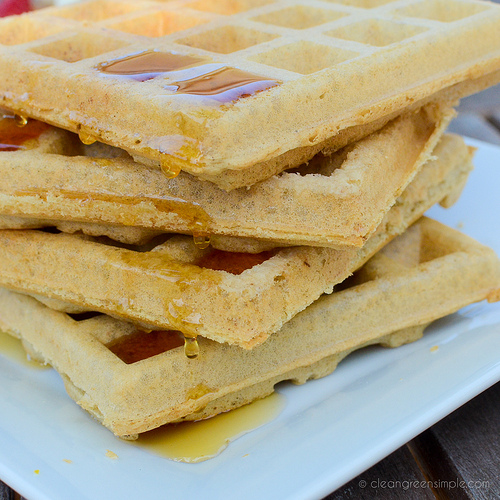
My friend recently moved and decided she no longer needed her waffle maker, and I was the lucky recipient! I’m a little concerned she’s going to demand it back after she sees these photos though – these waffles have such a great taste and texture you could easily serve them to anyone, dietary restrictions or not. I’ve always enjoyed waffles with a bunch of stuff piled on top, like fruit and whipped cream, but you can also get away with the standard drizzle of syrup to sweeten them up:
This recipe does call for a little bit of coconut milk, though, so I can think of no better way to use the rest of the can than by whipping it up into a delightful whipped cream topping. In fact, let’s start with that! If you keep a can of coconut milk in the fridge, the fat will solidify on top like so:
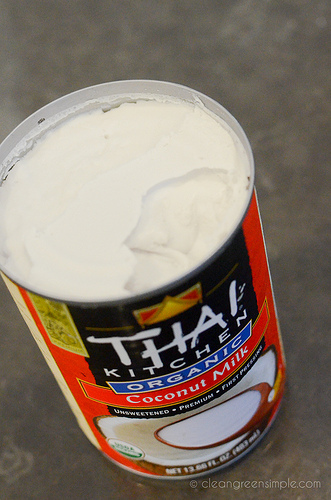
Scoop that layer off with a spoon and then pour the remaining liquid into a little bowl:
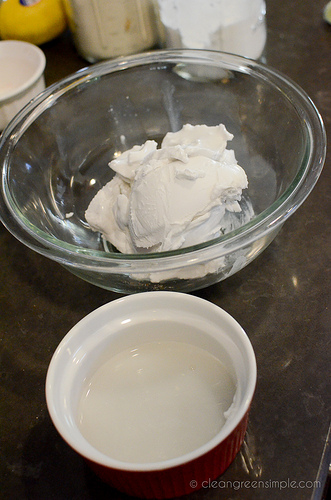
For the waffles, scoop out three tablespoons of the solid fatty part and whisk it into the liquid, then add enough soy or almond milk to equal two cups total. Set that aside. If you want to make whipped cream with the rest, then add a teaspoon of vanilla and a teaspoon of agave nectar or maple syrup, and whisk it with a hand mixer until it fluffs up into a delectable whipped cream texture:
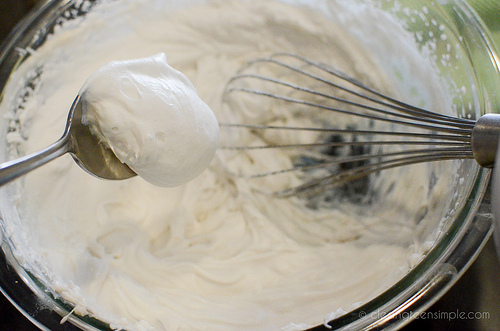
Naturally, you don’t have to just use this for these waffles, this stuff tastes great on lots of things! But let’s get back to those waffles. Mix together your dry ingredients (those will be a few GF flours and starches, some baking powder, and bit of salt) and then in a small bowl combine all the remaining wet ingredients and a bit of ground flaxseed. Blend it all together and you’ve got yourself some waffle batter! It’s a bit on the thin side, but it puffs up nicely once you cook it.
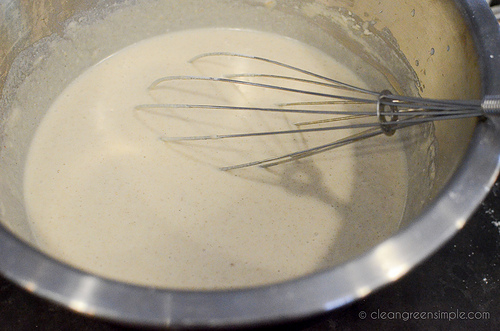
You’ll have to follow the instructions for your waffle iron since they are all a bit different – I found that on medium heat mine took about 5 minutes or so, but just cook them until they turn a nice crispy golden brown. Don’t be tempted to check them for at least 2-3 minutes though or they might pull apart because they aren’t cooked well enough. Not that I’m ever impatient with baked goods or check things too often.
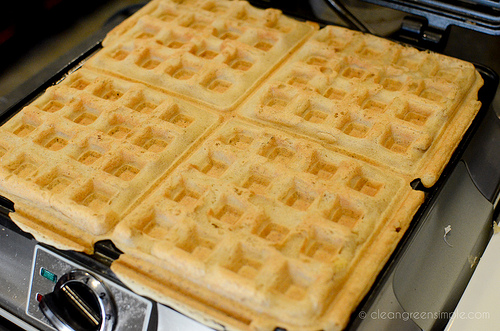
Then just go to town with whatever you want to top them with, whipped cream, nuts, fruit, syrup – the world is your oyster. Or your vegan gluten free waffle, as the case may be.
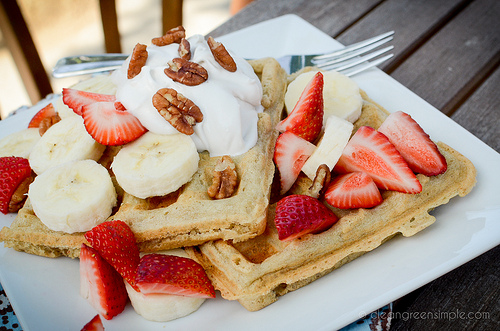

Vegan, Gluten Free Waffles
Ingredients
Dry Ingredients:
- 1 ¼ cups sorghum flour
- ¾ cup brown rice flour
- ¼ cup potato starch arrowroot would also work
- ¼ cup tapioca starch tapioca starch and tapioca flour are the same thing
- 4 tsp baking powder
- ¾ tsp salt
Wet Ingredients:
- 1 14 oz can full fat coconut milk chilled
- About 2 cups soy or almond milk
- 3 Tbsp safflower grapeseed, or other neutral oil
- 1 Tbsp maple syrup or agave nectar
- 1 tsp vanilla
- 1 Tbsp ground flax seed I know this isn't "wet" but it gets mixed in with the wet ingredients
Instructions
- Combine dry ingredients in a medium bowl.
- Separate the fatty top layer of the coconut milk from the liquid. Take three tablespoons of the fat and mix it back into the liquid, and set aside the remaining fat (or use to make whipped cream as shown in the post above) Add enough soy or almond milk to the coconut liquid to total two cups.
- Combine this mixture with the remaining wet ingredients, including the ground flax, and let sit for a minute to let the flax incorporate into the liquid a bit.
- Combine wet and dry ingredients, whisking until smooth and lump-free.
- Cook according to the directions on your waffle iron, until the waffles are crispy and golden brown. I recommend cutting one to make sure the inside is nice and fluffy and not still moist and undercooked, they are much better when fully cooked!
- Serve immediately with fruit, nuts, syrup, whipped cream, or by themselves.


Hmm it appears like your website ate my first comment (it was extremely long) so I guess I’ll just sum it up what I had written and say, I’m thoroughly enjoying your blog.
I too am an aspiring blog writer but I’m still new to everything. Do you have any tips for inexperienced blog writers? I’d certainly appreciate it.
I absolutely love your recipes and your website! I am a just starting out vegan, so this is really helping me through this journey. Thank you so much and I cant wait to try everything!
These look so yummy and I would love to try them but do you have a suggestion for a coconut milk sub? It’s high in sat fat and not on my list of can eats. Thanks!!
I really need to try making this whipped cream soon!! I’ve watched a video on how to do it before and was SO intrigued. Now you’ve got me even more so!!! I would totally be putting it on the waffles 😉
Do you know what the calories/fat is per serving?
Hey Jessica! Unfortunately I do not have a waffle iron (yet) so I will have to save this recipe for later! I did attempt to make the coconut whipped cream for a vegan cobbler recipe I found elsewhere- I bought the exact same can of coconut milk, added the agave and vanilla and whipped the living heck out of it with my hand mixer.. and it never fluffed up! I ended up drizzling it on top of the cobbler instead, and of course it was delicious but I really would love to master the whip technique. Any tips? Thanks!
P.S. I love your site!
Did you put the coconut milk in the fridge for a few hours first? It works best chilled.
Oh, and make sure to separate out the solid fatty part and just whip that.
I bet these taste AMAZING!!! 😀
Do you have the nutritional facts on this recipe?
Sorry, no – I don’t count calories or nutritional info. I think caloriecount.com lets you plug in recipes and get that data though!
Are waffle makers difficult to clean? You make these look so simple!
Could I substitute coconut milk for the soya or almond milk? We don’t do soya or nuts in our home.
The one I have is non-stick (which I normally avoid but as I mentioned it was a gift) and was incredibly easy to clean, everything just slid right off!
I think you could totally sub coconut milk for the soy/almond milk, and you probably wouldn’t need to bother with separating and transfering fat then – just use two cups of coconut milk and you’re good to go!
Wow, this looks AMAZING! This will be on may making-in-the-weekend-list!