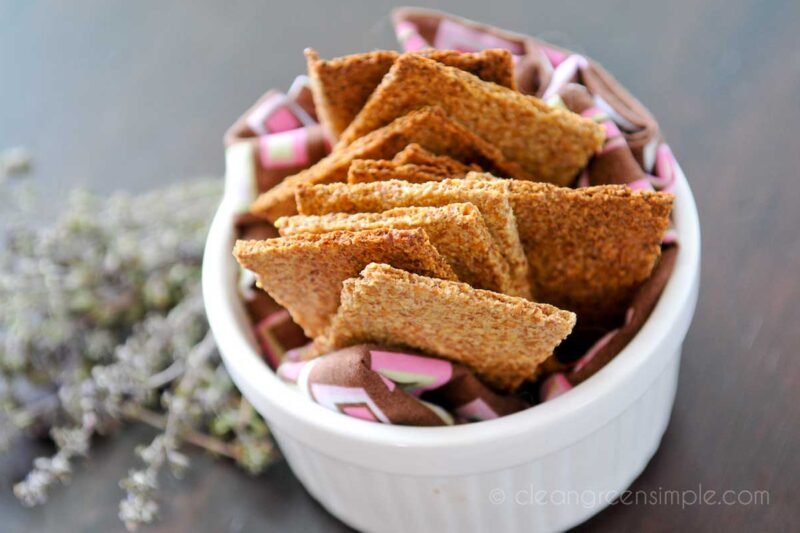
Easy Flaxseed Crackers
This easy flaxseed cracker recipe contains only freshly ground flaxseed and spices for an oil-free, low-carb snack packed with nutrition. With a yummy toasted flavor, they pair perfectly with many dips and toppers.
Latest Articles
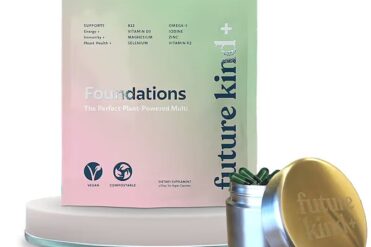
Future Kind’s Foundations: A Multivitamin Made for Vegans
Our favorite supplement brand, Future Kind, released a new vegan multivitamin made to fill essential nutrient gaps in vegan diets. Keep reading to learn why this multi is better than the competition.
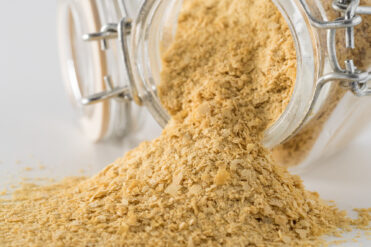
Does Nutritional Yeast Go Bad?
Like other dry goods, there are a lot of questions surrounding how long nutritional yeast can keep. In this article, we’ll answer the question, ‘does nutritional yeast go bad?’ as well as other common nooch shelf life inquiries.
Vegan & Vegetarian Recipes
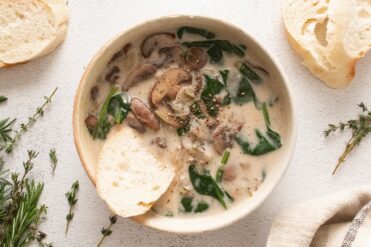
Creamy Vegan Mushroom Soup
Ready in 40 minutes, this creamy vegan mushroom soup recipe is dairy-free. Serve it as an appetizer or side dish, or make it a meal by adding plant-based protein.
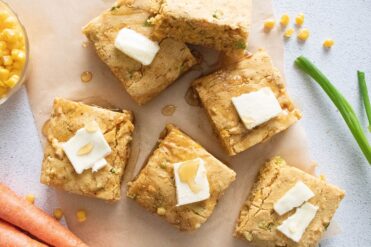
Vegan Cornbread with Carrots and Scallions
Learn how to make vegan cornbread with carrots and scallions. Serve this easy side dish with chili, soup, or beans for a comforting meal.

Cheesy Vegan Roasted Cauliflower
In just 30 minutes, make this easy “cheesy” vegan roasted cauliflower recipe. The cheesy flavor, which comes from nutritional yeast, makes it perfect for snacking or filling wraps.
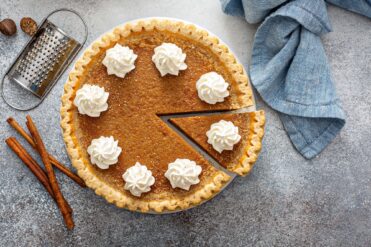
Vegan Sweet Potato Pie
Imagine creamy spiced sweet potato filling, homemade crust, and a whole lot of love in one dish… Surprise your loved ones with this epic vegan sweet potato pie made entirely from scratch.
Food & Kitchen

18 Scrumptious Vegan Thanksgiving Desserts
Thanksgiving season is just around the corner, which means you should be busy planning an epic menu of Thanksgiving recipes. Catering to everyone’s…

25 Vegan Thanksgiving Sides to Complete Your Holiday Dinner
When it comes to Thanksgiving, it’s easy to think of Tofurky (or vegan meatloaf) as the main event. But in reality, we all…
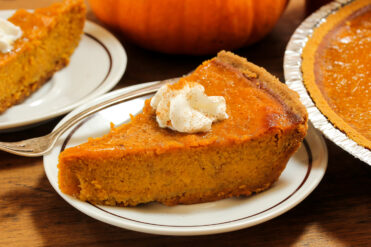
23 Best Vegan Pumpkin Recipes
It’s pumpkin season once again! Whether you’re looking for a sweet treat or a savory main dish, you’re sure to find some great ideas in this year’s list of the best vegan pumpkin recipes.

How to Make Your Own CBD Dog Treats for Anxiety
This easy-to-make CBD dog treats for anxiety recipe will save you money over commercial products. Plus, find out everything you need to know about making your own CBD treats for dogs.
Plant-Based Nutrition
Future Kind’s Foundations: A Multivitamin Made for Vegans
Our favorite supplement brand, Future Kind, released a new vegan multivitamin made to fill essential nutrient gaps in vegan diets. Keep reading to learn why this multi is better than the competition.
Boost Your Defenses Against the Flu with These Simple Strategies
With the crisp, cool fall and winter temps, comes increased rates of flu, colds, and other viruses. Today, we’re looking at lifestyle factors that can help bolster your immune system.
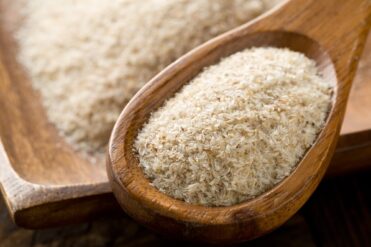
Psyllium Husk: A Natural Weight Loss Supplement
If you’re looking for a more natural, safer weight loss supplement, consider psyllium husk. Psyllium husk has many potential benefits that could help promote weight loss along with exercise and reducing calorie consumption.

Best Sleep Gummies and Supplements for More Restful Nights
Nothing is worse than a bad night’s sleep, except for maybe bad sleep every night. Let our picks for the best sleep gummies and supplements help you find sweet dreams and more productive mornings.
Green Home & Garden
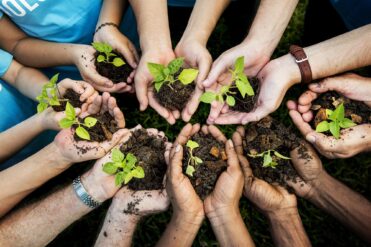
What Is Sustainability?
Many aspects of veganism are sustainable. But we can all do more to support our planet and future. Find out what sustainability is and what more you can do to live it.
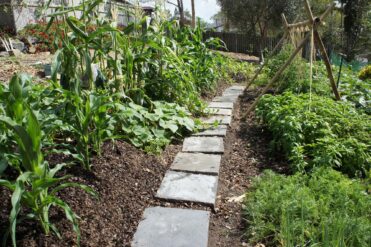
Clean Green Concepts: What Is Permaculture?
Permaculture is more than a way to garden, it’s a lifestyle, much like veganism. Find out what permaculture is and how you can use its principles to turn your yard into an ecosystem oasis.
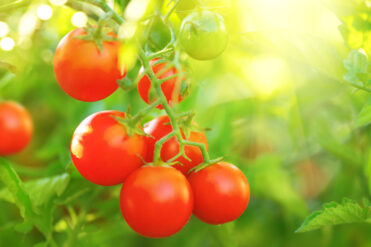
9 Tips for Growing Cherry Tomatoes in Pots
Growing cherry tomatoes in pots is not only possible, but one of the best ways to grow this veggie. Here are 9 tips to maximize your yield while minimizing your effort.

A Beginner’s Guide to Microgreens
Microgreens have exploded in popularity and are a great source of nutrients and phytochemicals. They’re also easy to grow at home! Learn how with our simple beginner’s guide to microgreens.
Products & Services

Best Vegan Frozen Food Meals at Trader Joe’s
Frozen food meals can save you time and money. Learn about the best frozen food meals for vegans at Trader Joe’s, plus how to pick the healthiest products, according to a dietitian.

12 Best Vegan Ice Cream Brands of 2023
Vegan ice cream is no longer hard to come by, but which brands are worth buying? Here are the best vegan ice cream brands, along with a simple vegan ice cream recipe.
Superfoods for Dogs: Feed These for Better Health
Superfoods are just as valuable to dogs as they are to humans. Here are eight superfoods for dogs and some of our favorite superfood dog treats worth adding to your pet’s diet.

Best Vegan Products to Add to your Shower Routine
Looking for new products to add to your shower routine? We’ve got you covered with our picks from the best vegan, cruelty-free, and sustainable beauty brands.

Why Don’t Dogs Eat Vegan? Best Dog Food Brands for Ethical Feeding
Dogs can’t follow vegan diets, but they can eat sustainably and ethically while getting the nutrients they need. Find out how with these tips and our recommendations for the best dog food brands.

8 Best Vegan Chocolate Brands for Baking & Melting
Looking for dairy-free chocolate to create epic cruelty-free baked goods? Here are the 8 best vegan chocolate brands for baking and melting. From semisweet to unsweetened, we’ve got you covered.